4 Parts, 1 Piece
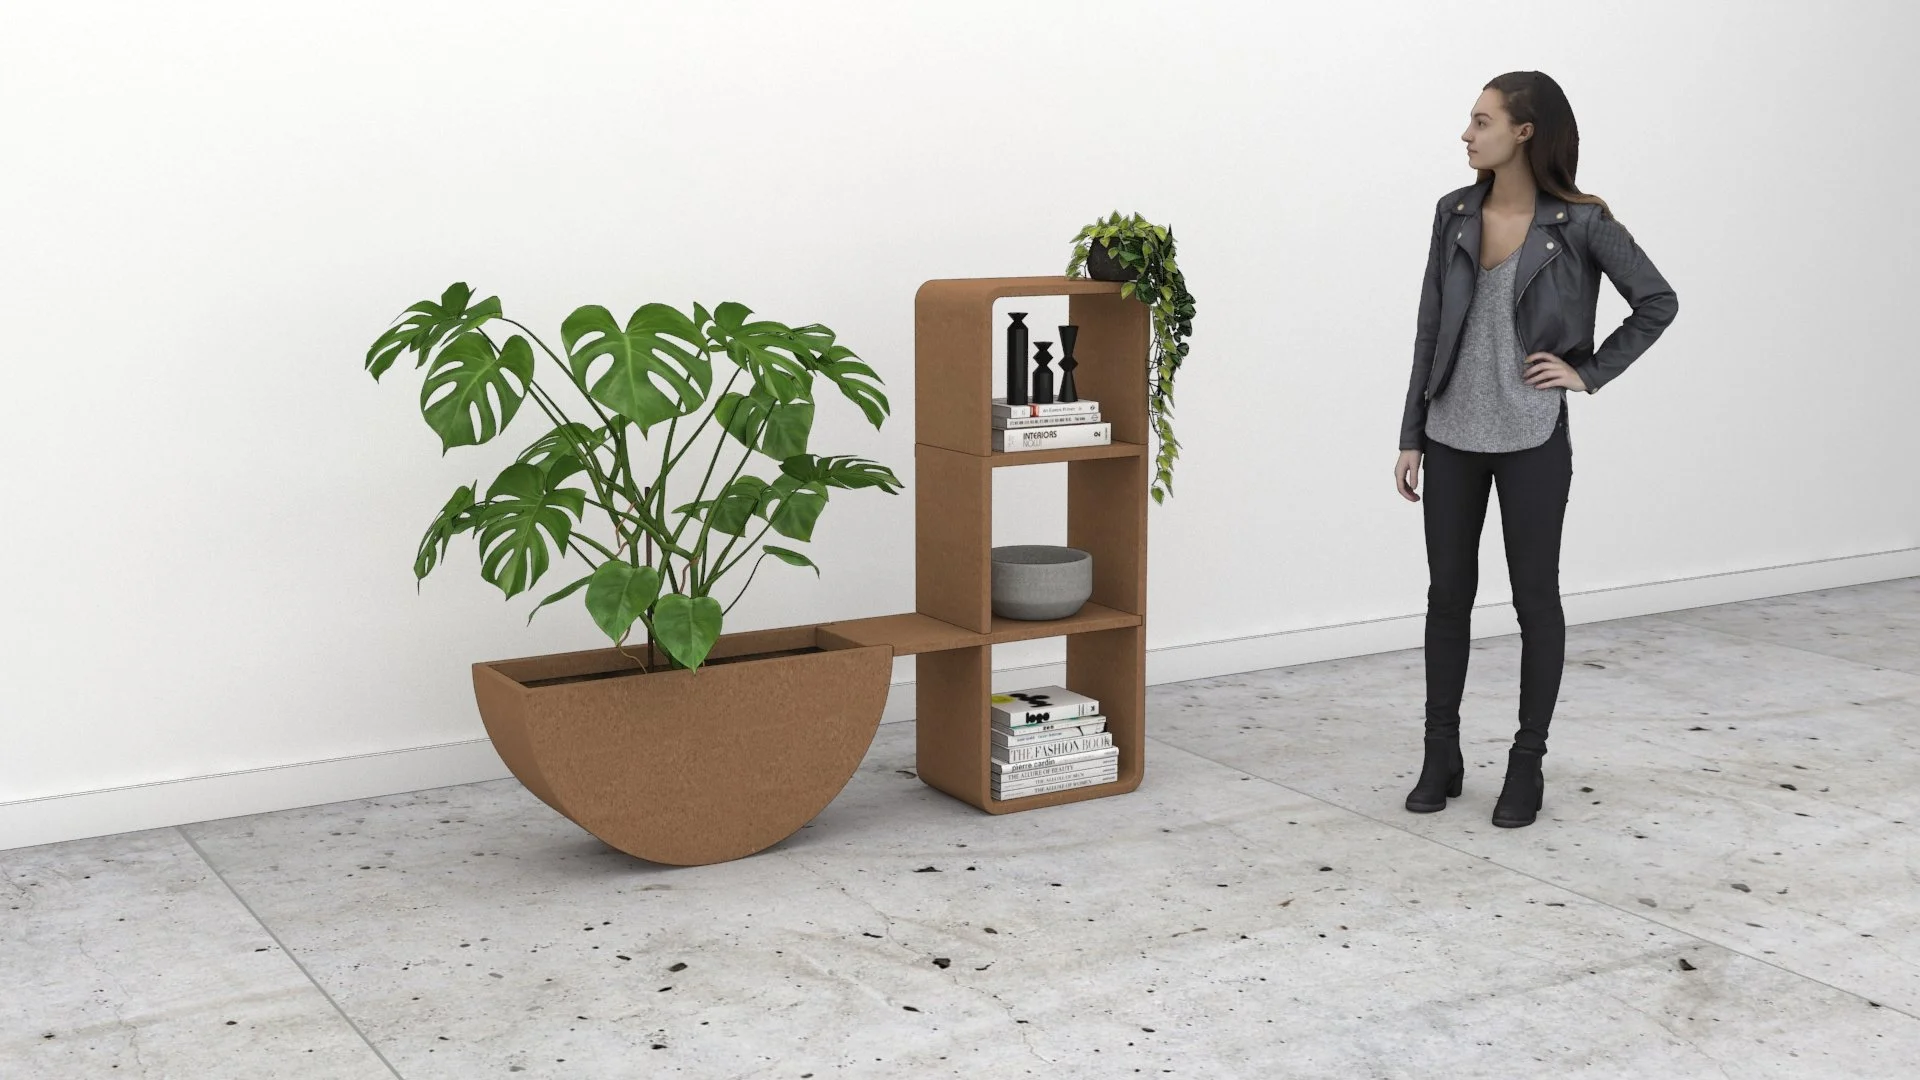
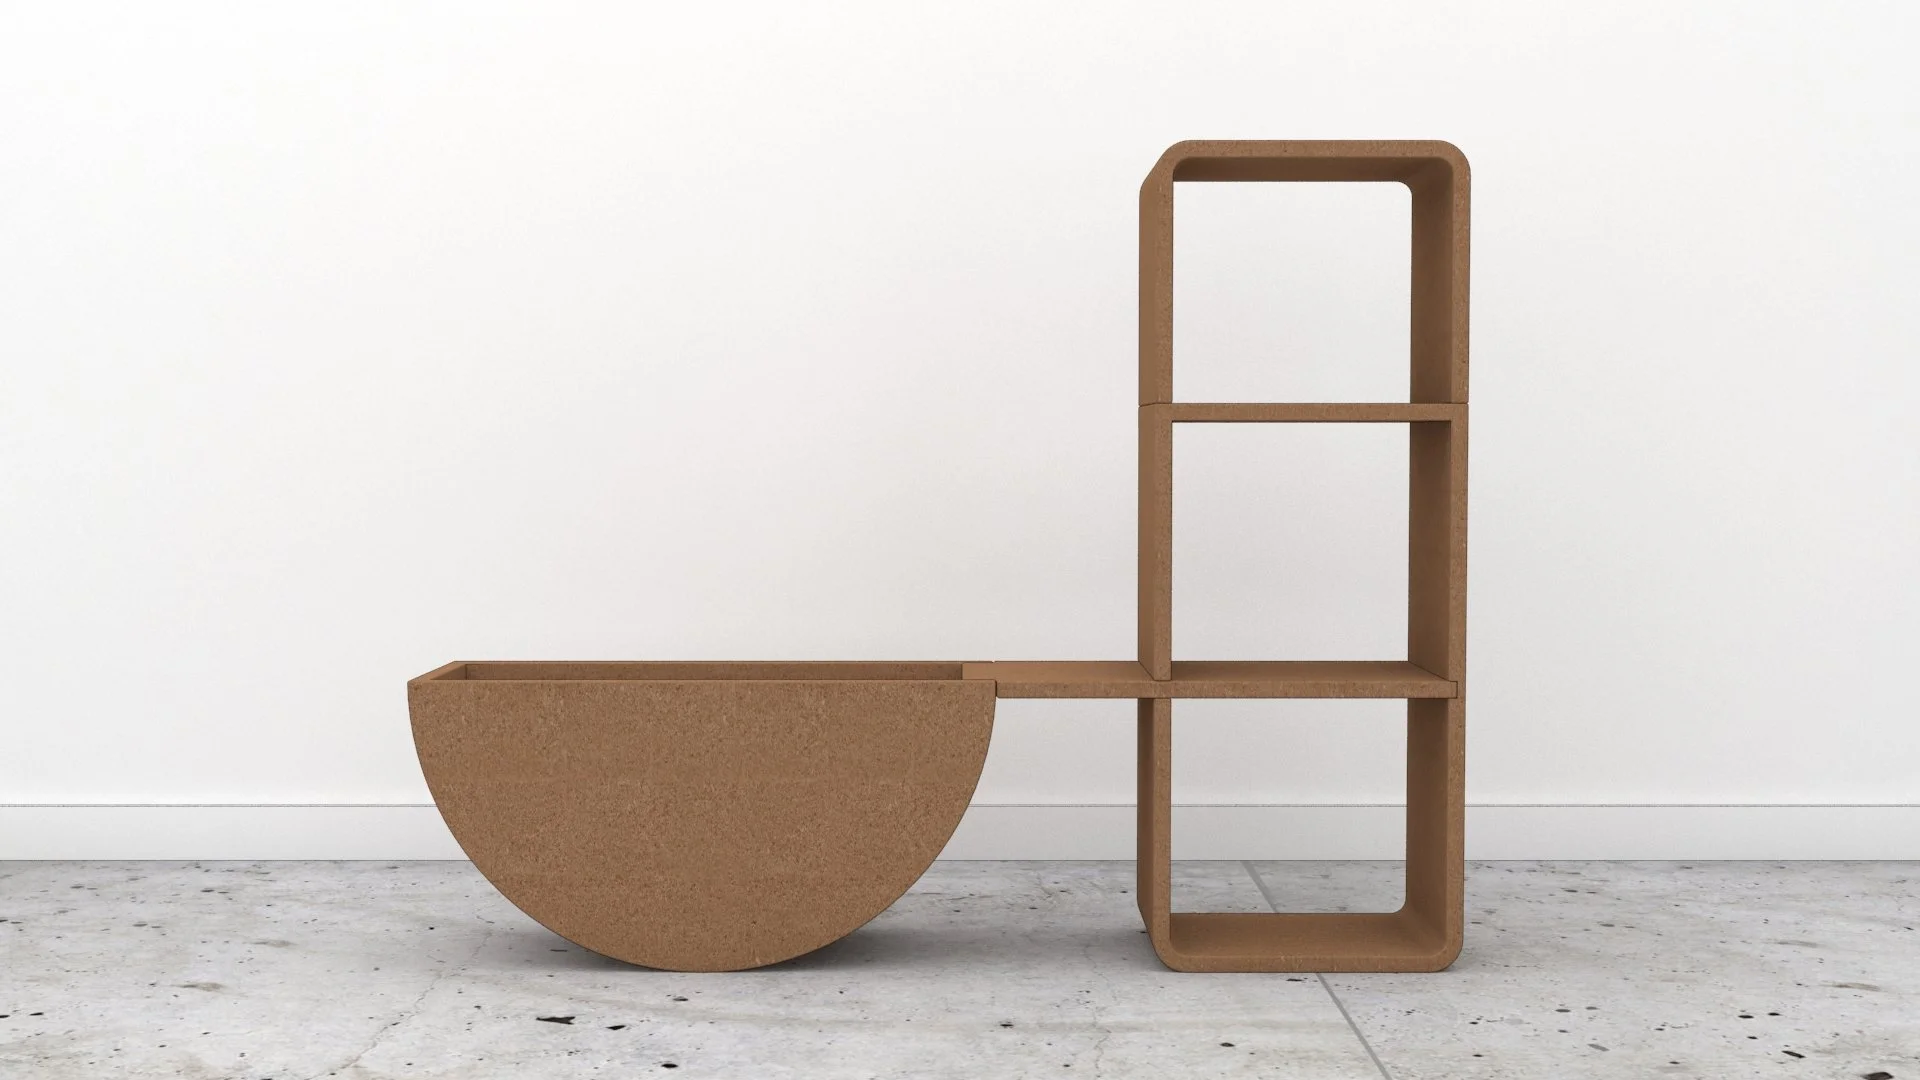
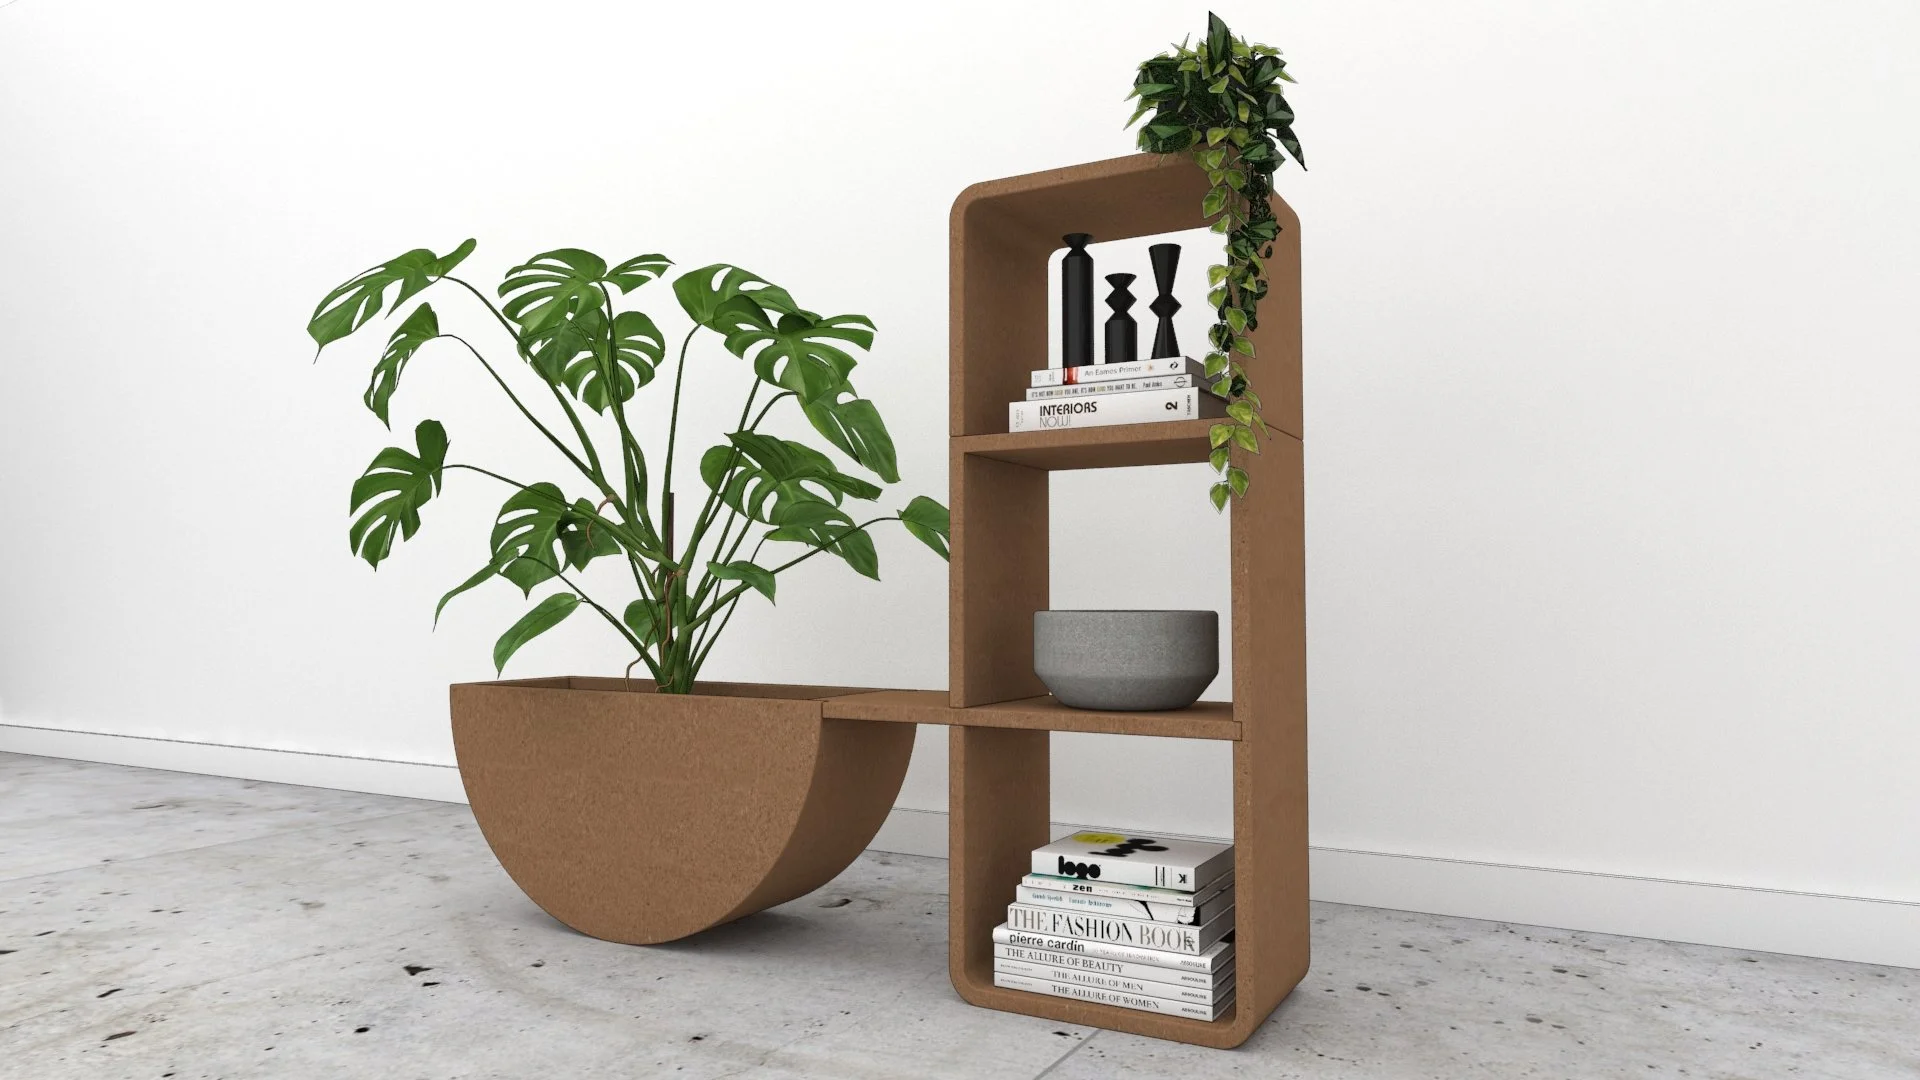
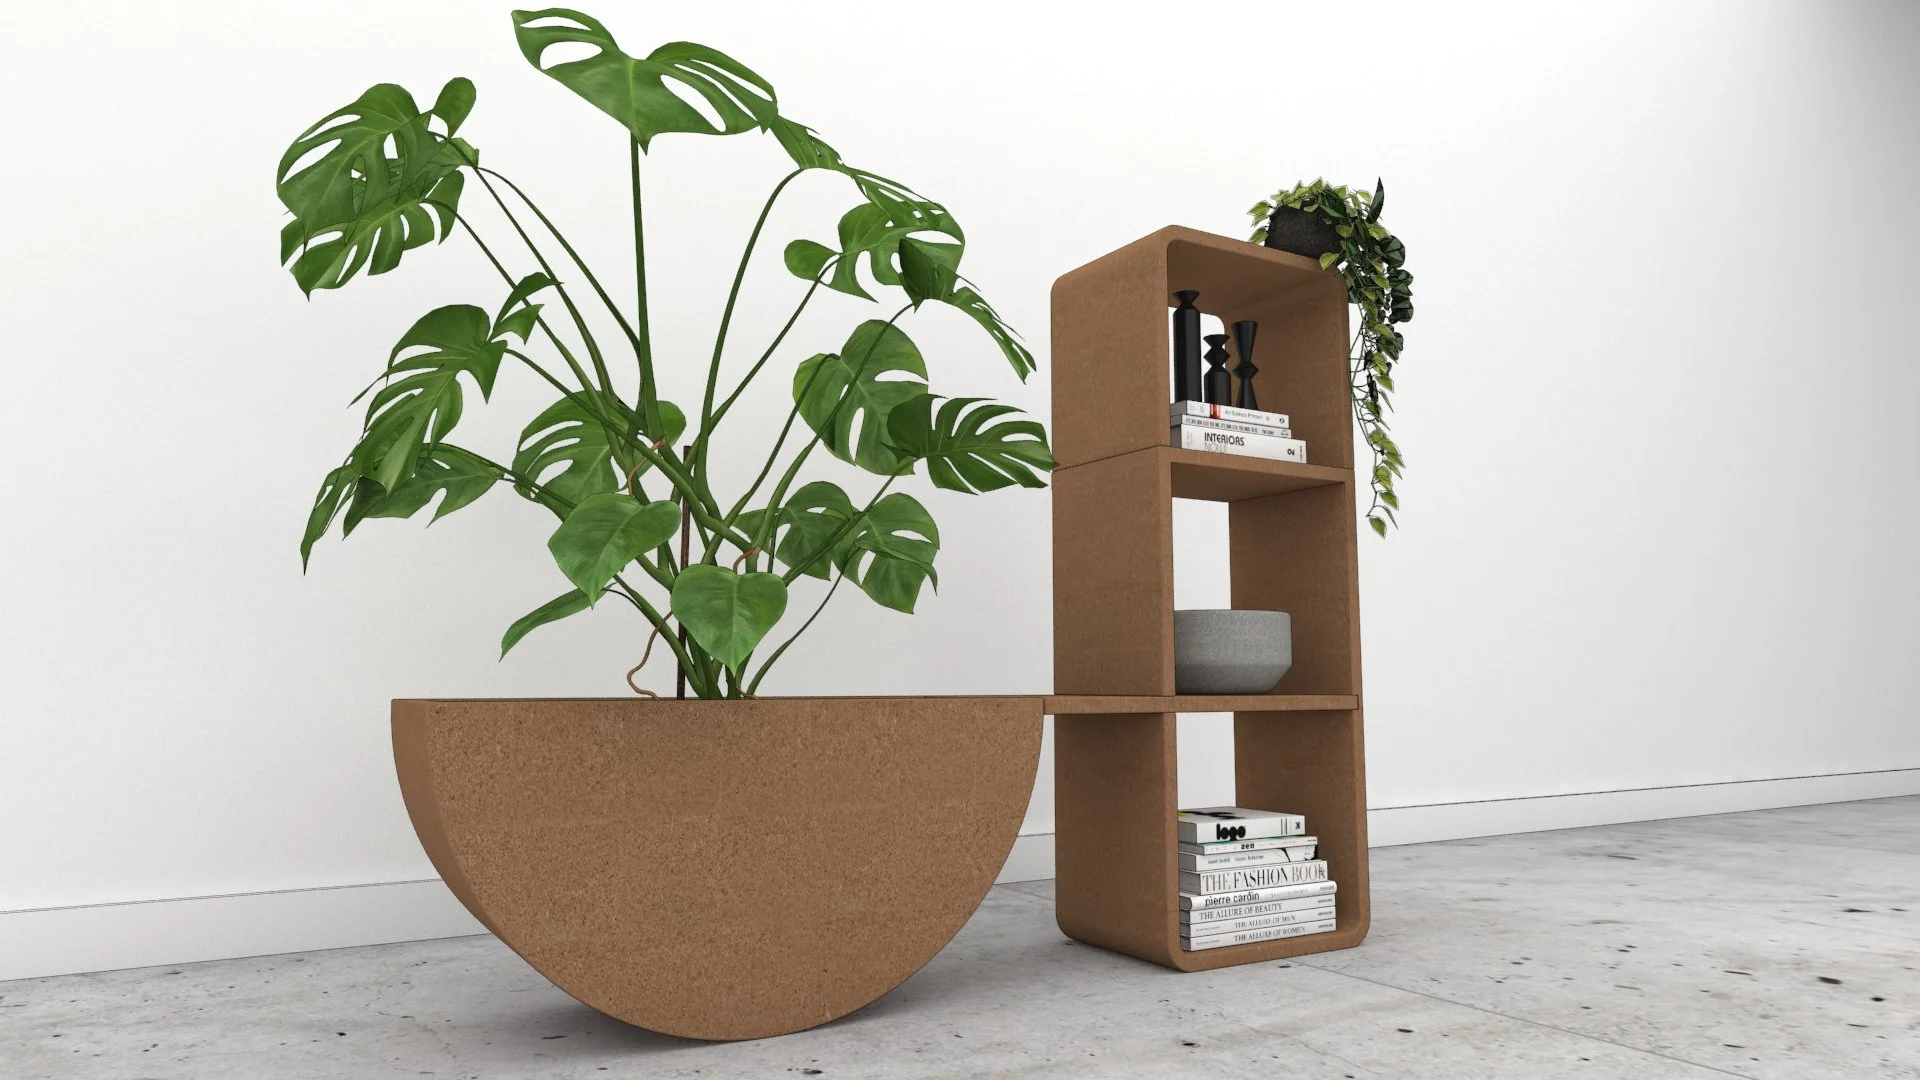
For this project, I designed a planter / bookshelf that was designed to be made out of clay in 4 parts that would fit together to form one large piece of furniture. I made a miniature scale model to work out some of my ideas before sketching and 3D modeling/rendering the design. Precision was key to ensuring all of the pieces would fit together after firing. I made multiple custom jigs to hold all of the pieces of clay in place as they dried before moving them into the kiln to be fired. Sadly, the kiln gods were not in my favor and every piece ended up blowing up in the kiln. I still feel like this project was very successful from the numerous, invaluable lessons I walked away with :)
Scale Model
I made a 1/4” = 1’-0” model to see and feel how the pieces would connect. I wanted to see if the semi-circle planter would need a foot or if it could have the full curve on the floor without rocking too much. Spoiler alert, it did need a foot that I added to the full size planter!
3D Visualization
My intention was celebrate the natural texture and color of the clay and not glaze the pieces. I was going to fire it to cone 4 which would produce a warm, light orange natural color.
Jig Creation and Set-Up!
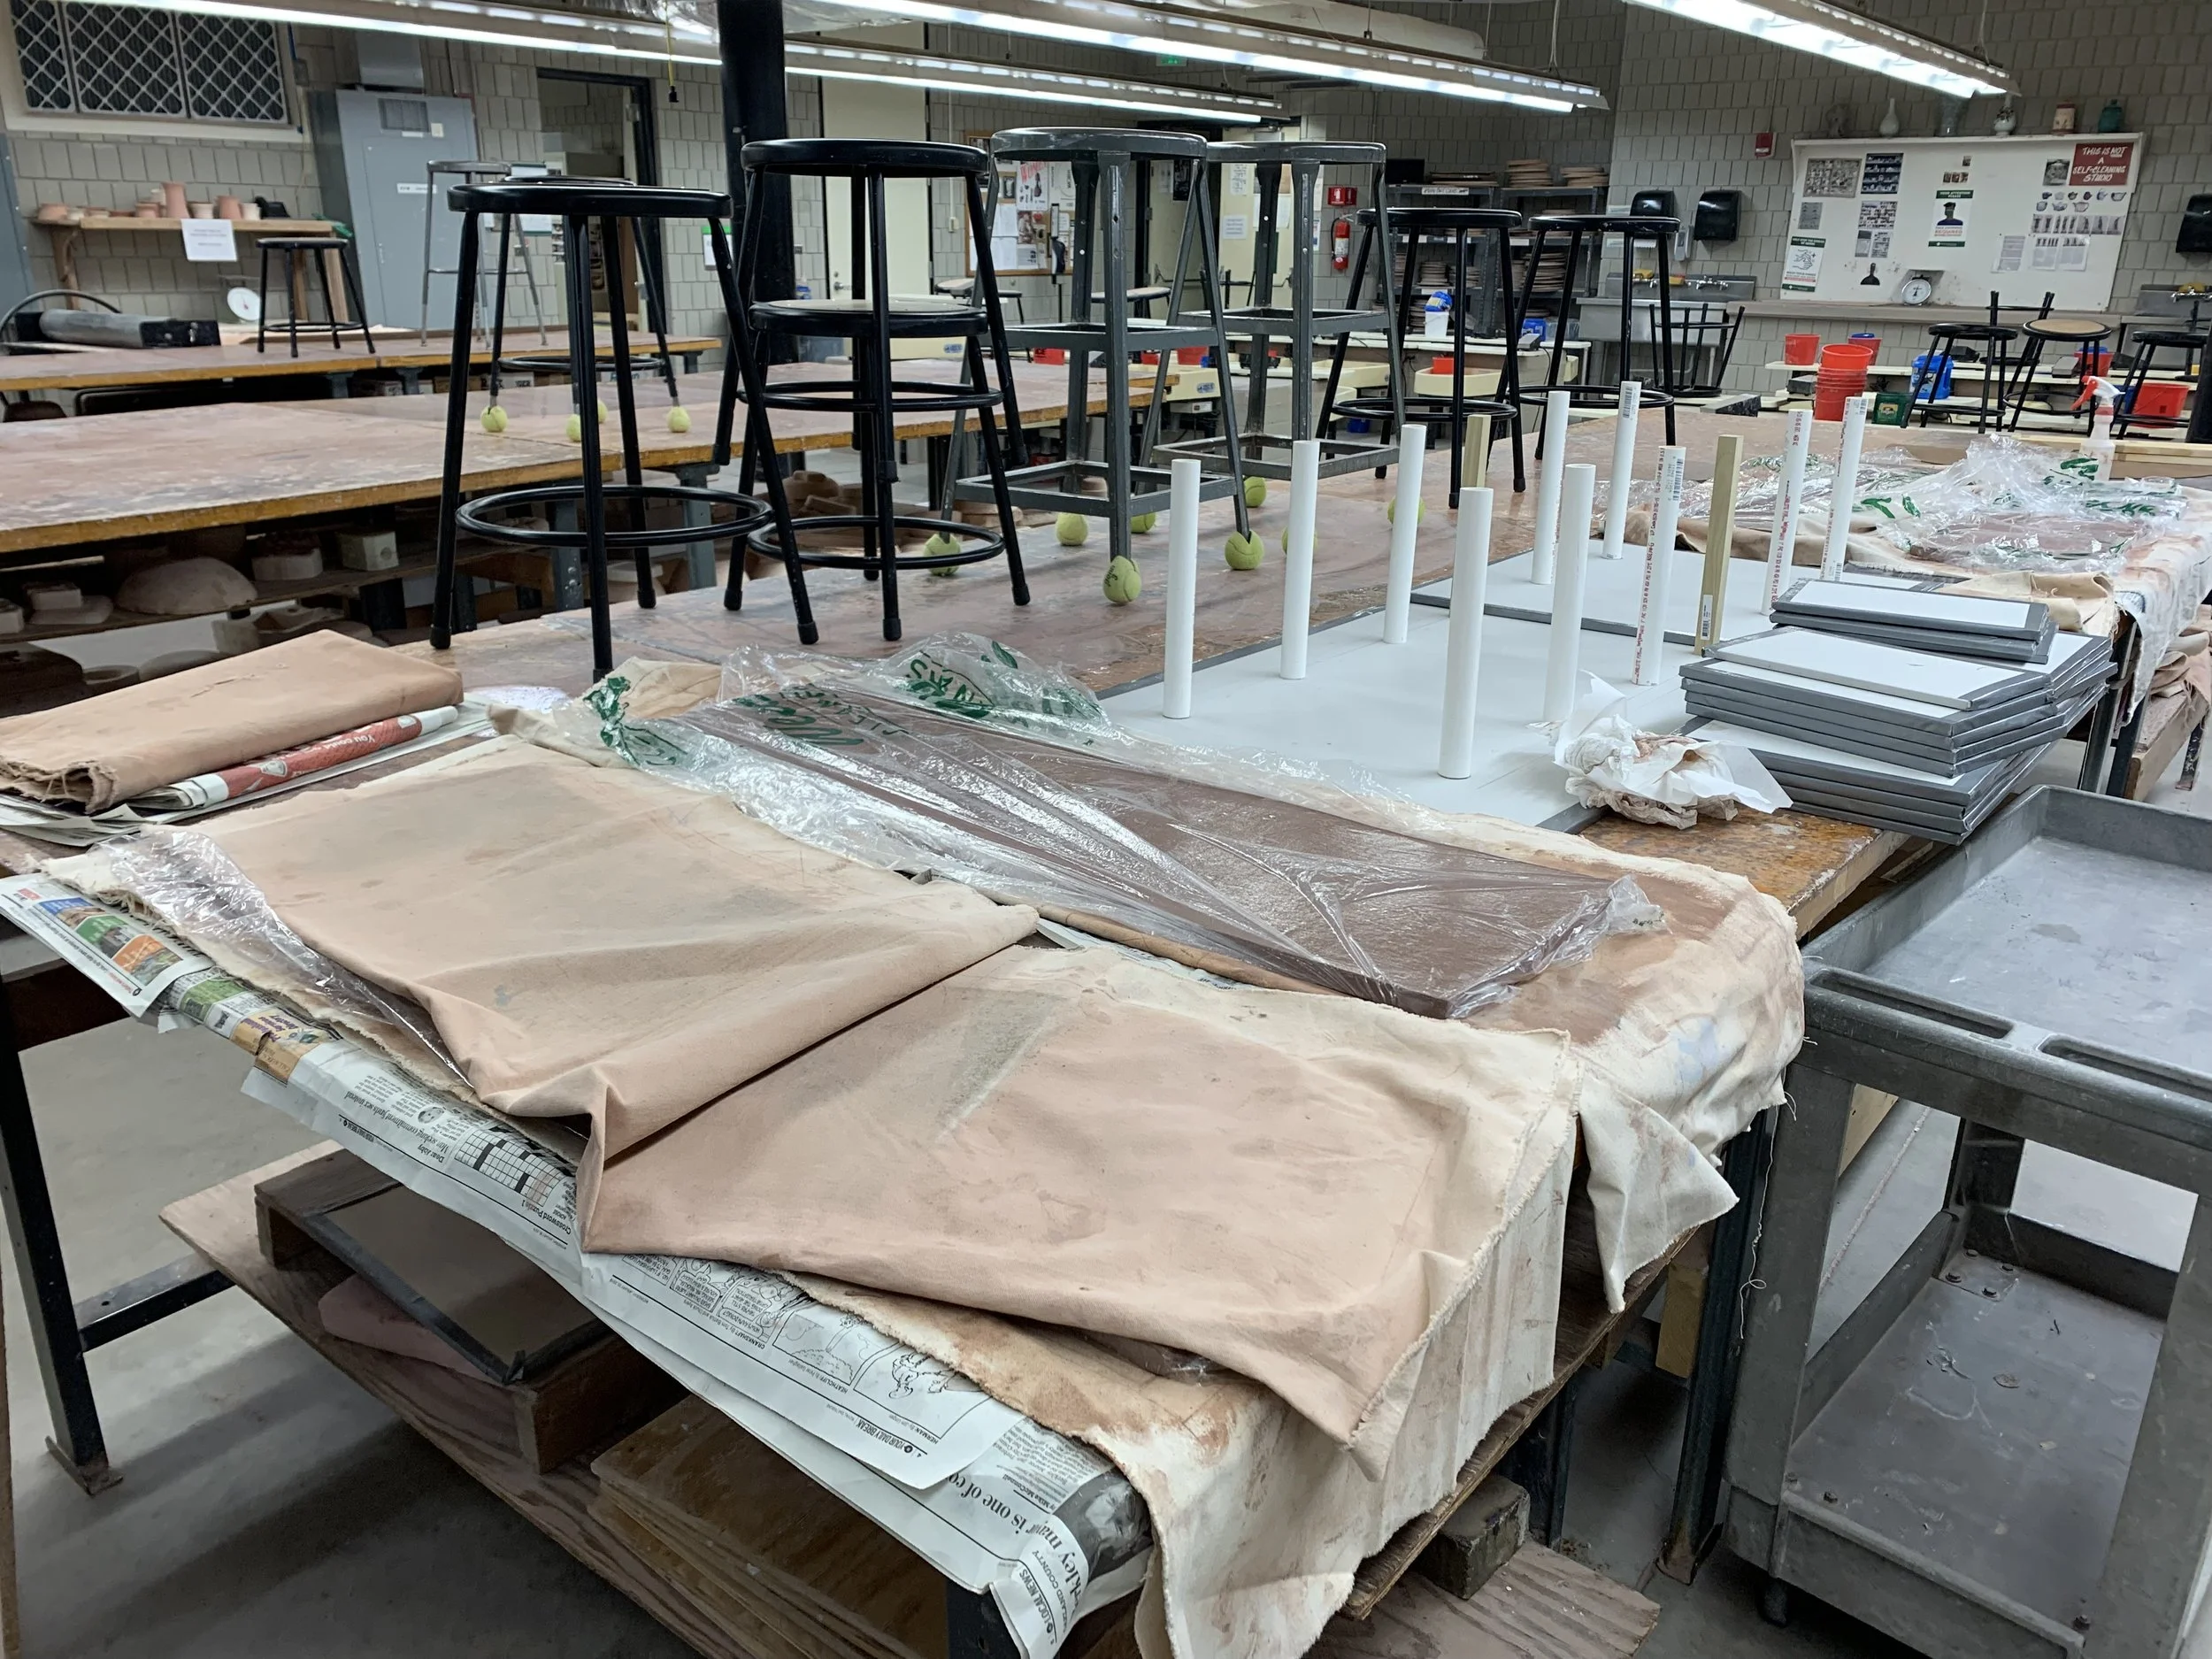
After carefully planning out the full scale sizes of the clay slabs I would use, I drew plans on how big the jigs would need to be. I purchased a full sheet of drywall that I cut into pieces that I would then use to sandwich the clay in. The plaster in drywall sucks moisture out of wet clay, so it very common for ceramic artists to use in their practice. I drilled wood dowels into the I drilled wooden dowels into marked spots on large pieces of drywall and then covered them with PVC pipes to get an even curve in the clay.
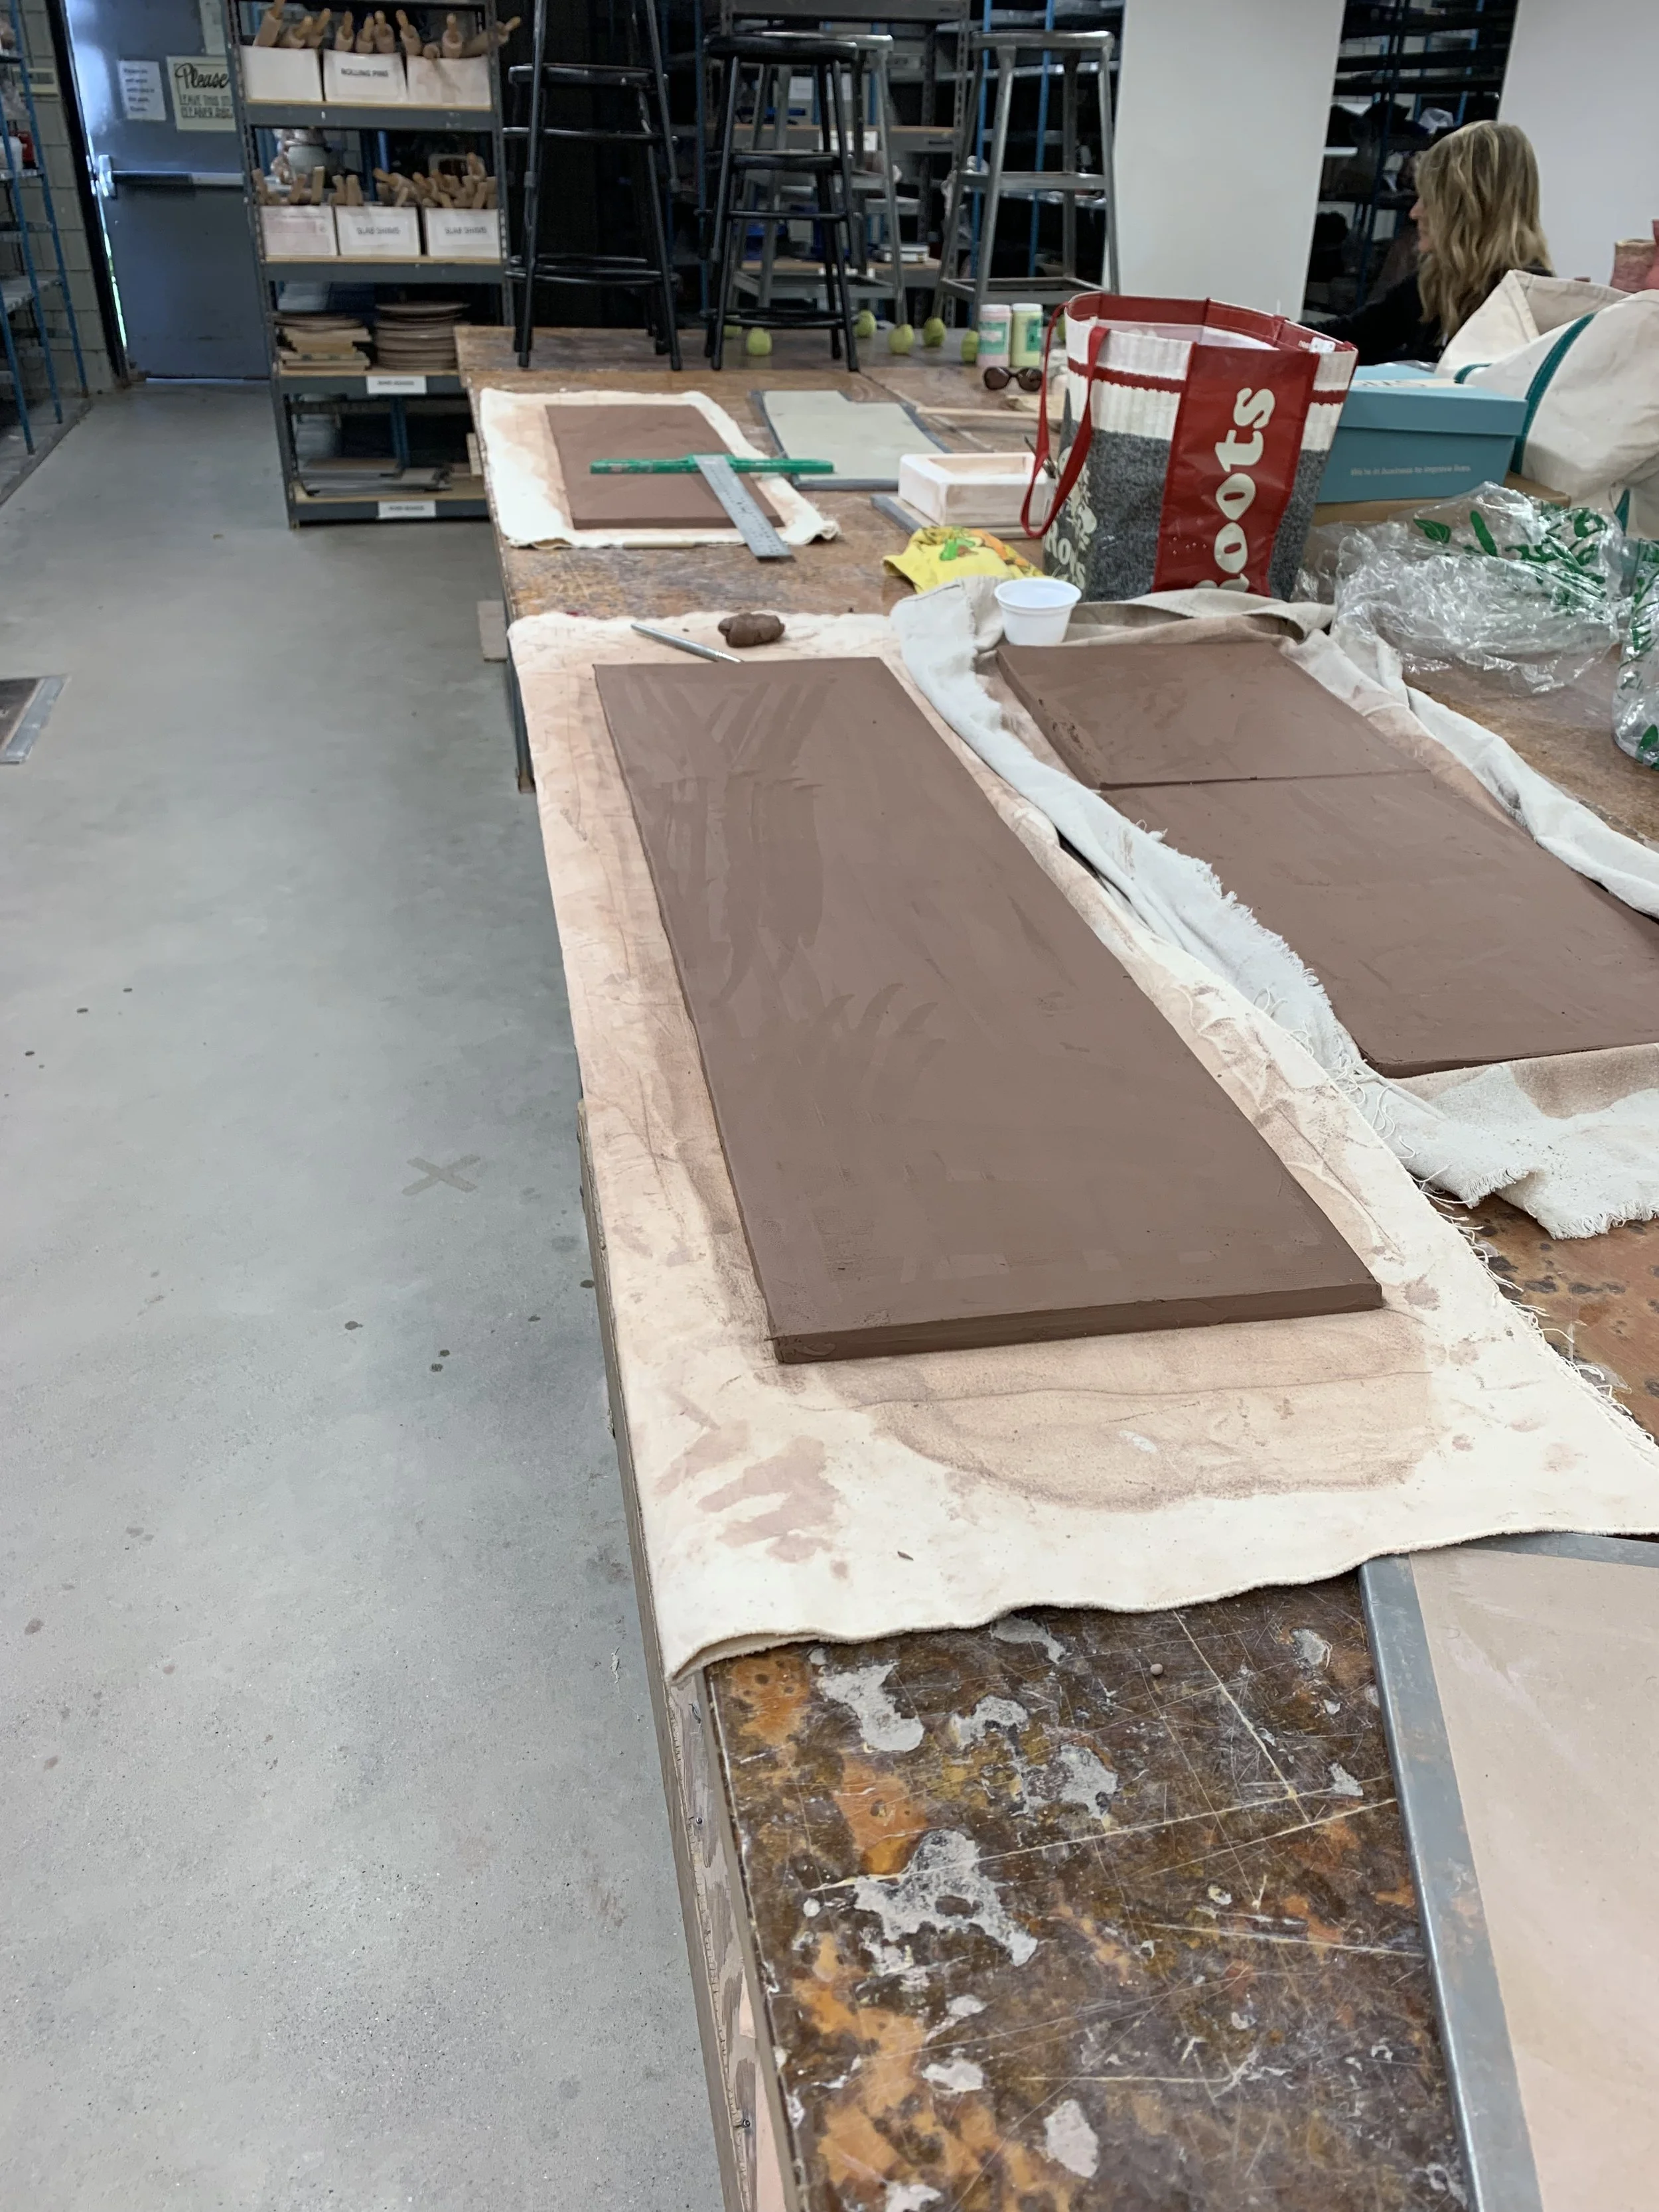
I used the slab roller to roll slabs of clay with perfectly even thickness and then used a t-square to cut the clay into the correct sizes. I let the slabs dry for 1-2 days before wrapping them on the jigs. I used clamps to secure each clay slab onto the jig and then used cut pieces of dry wall on either side of every slab.
I used duct tape on the edges of the drywall boards to prevent any loose plaster from falling out. I used bricks to make nothing would move as it was drying.
Final Pieces (After Drying for 2 Months) Before Moving to the Kiln
Firing and the Aftermath
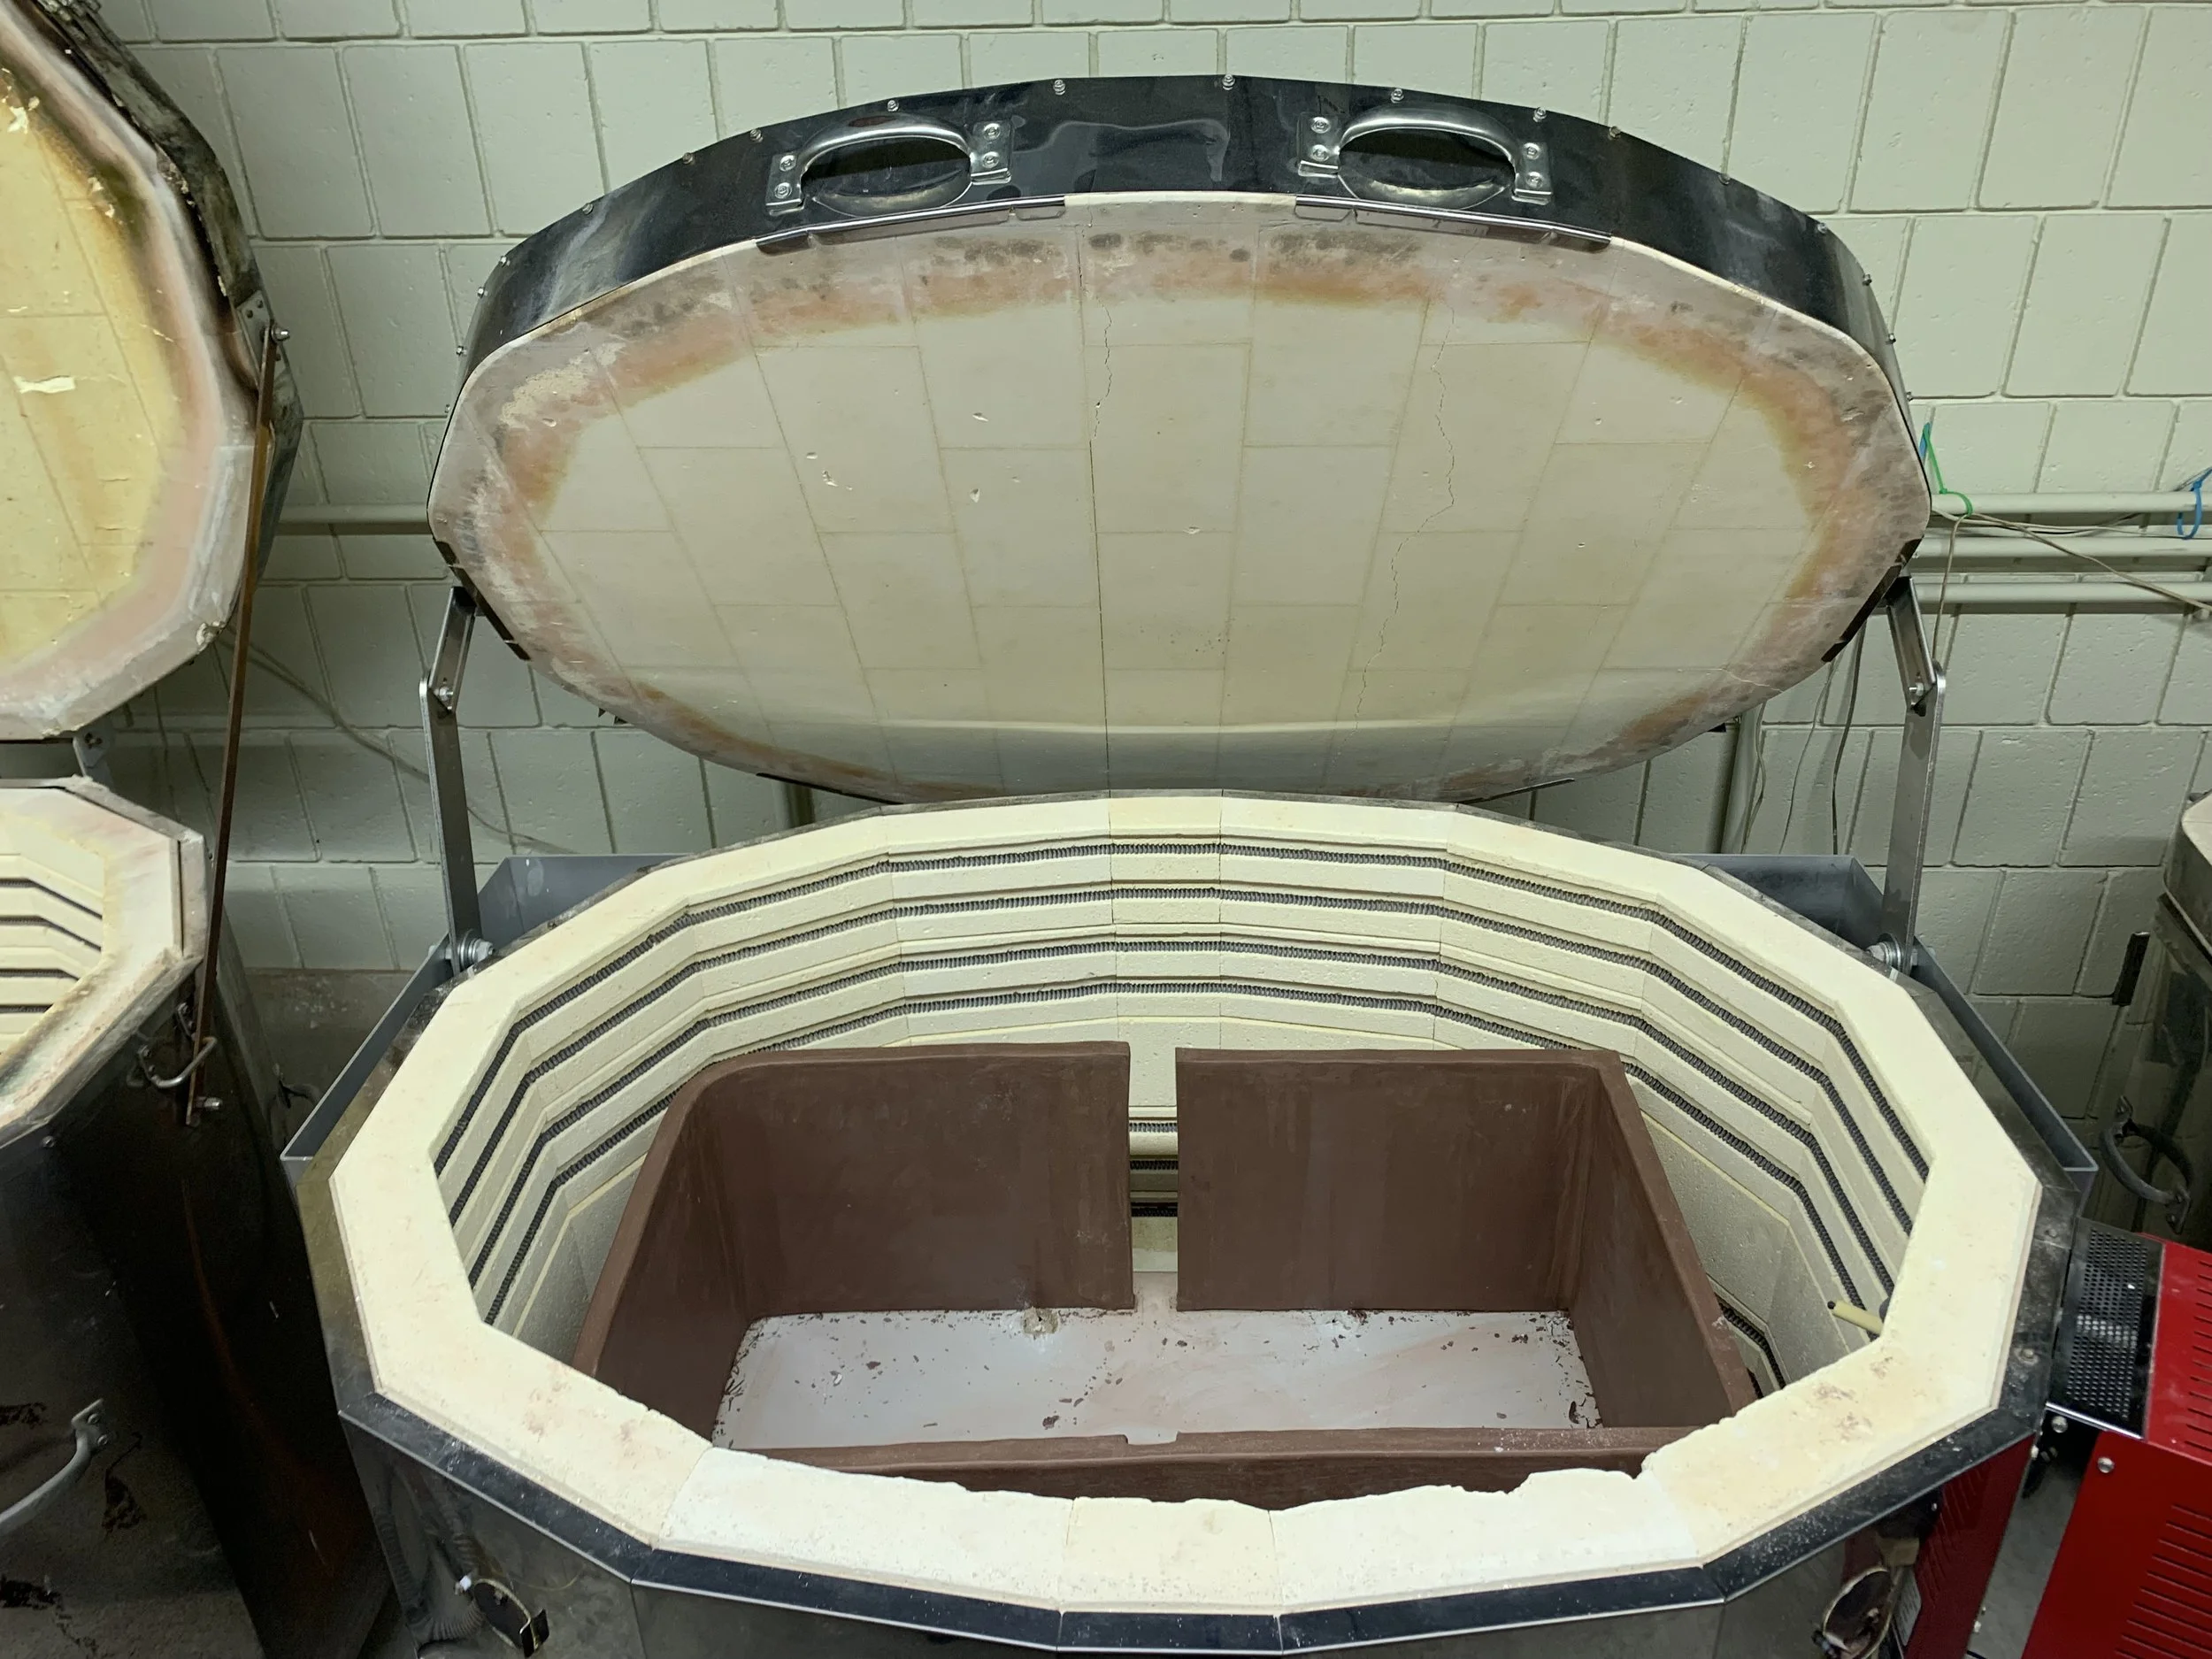
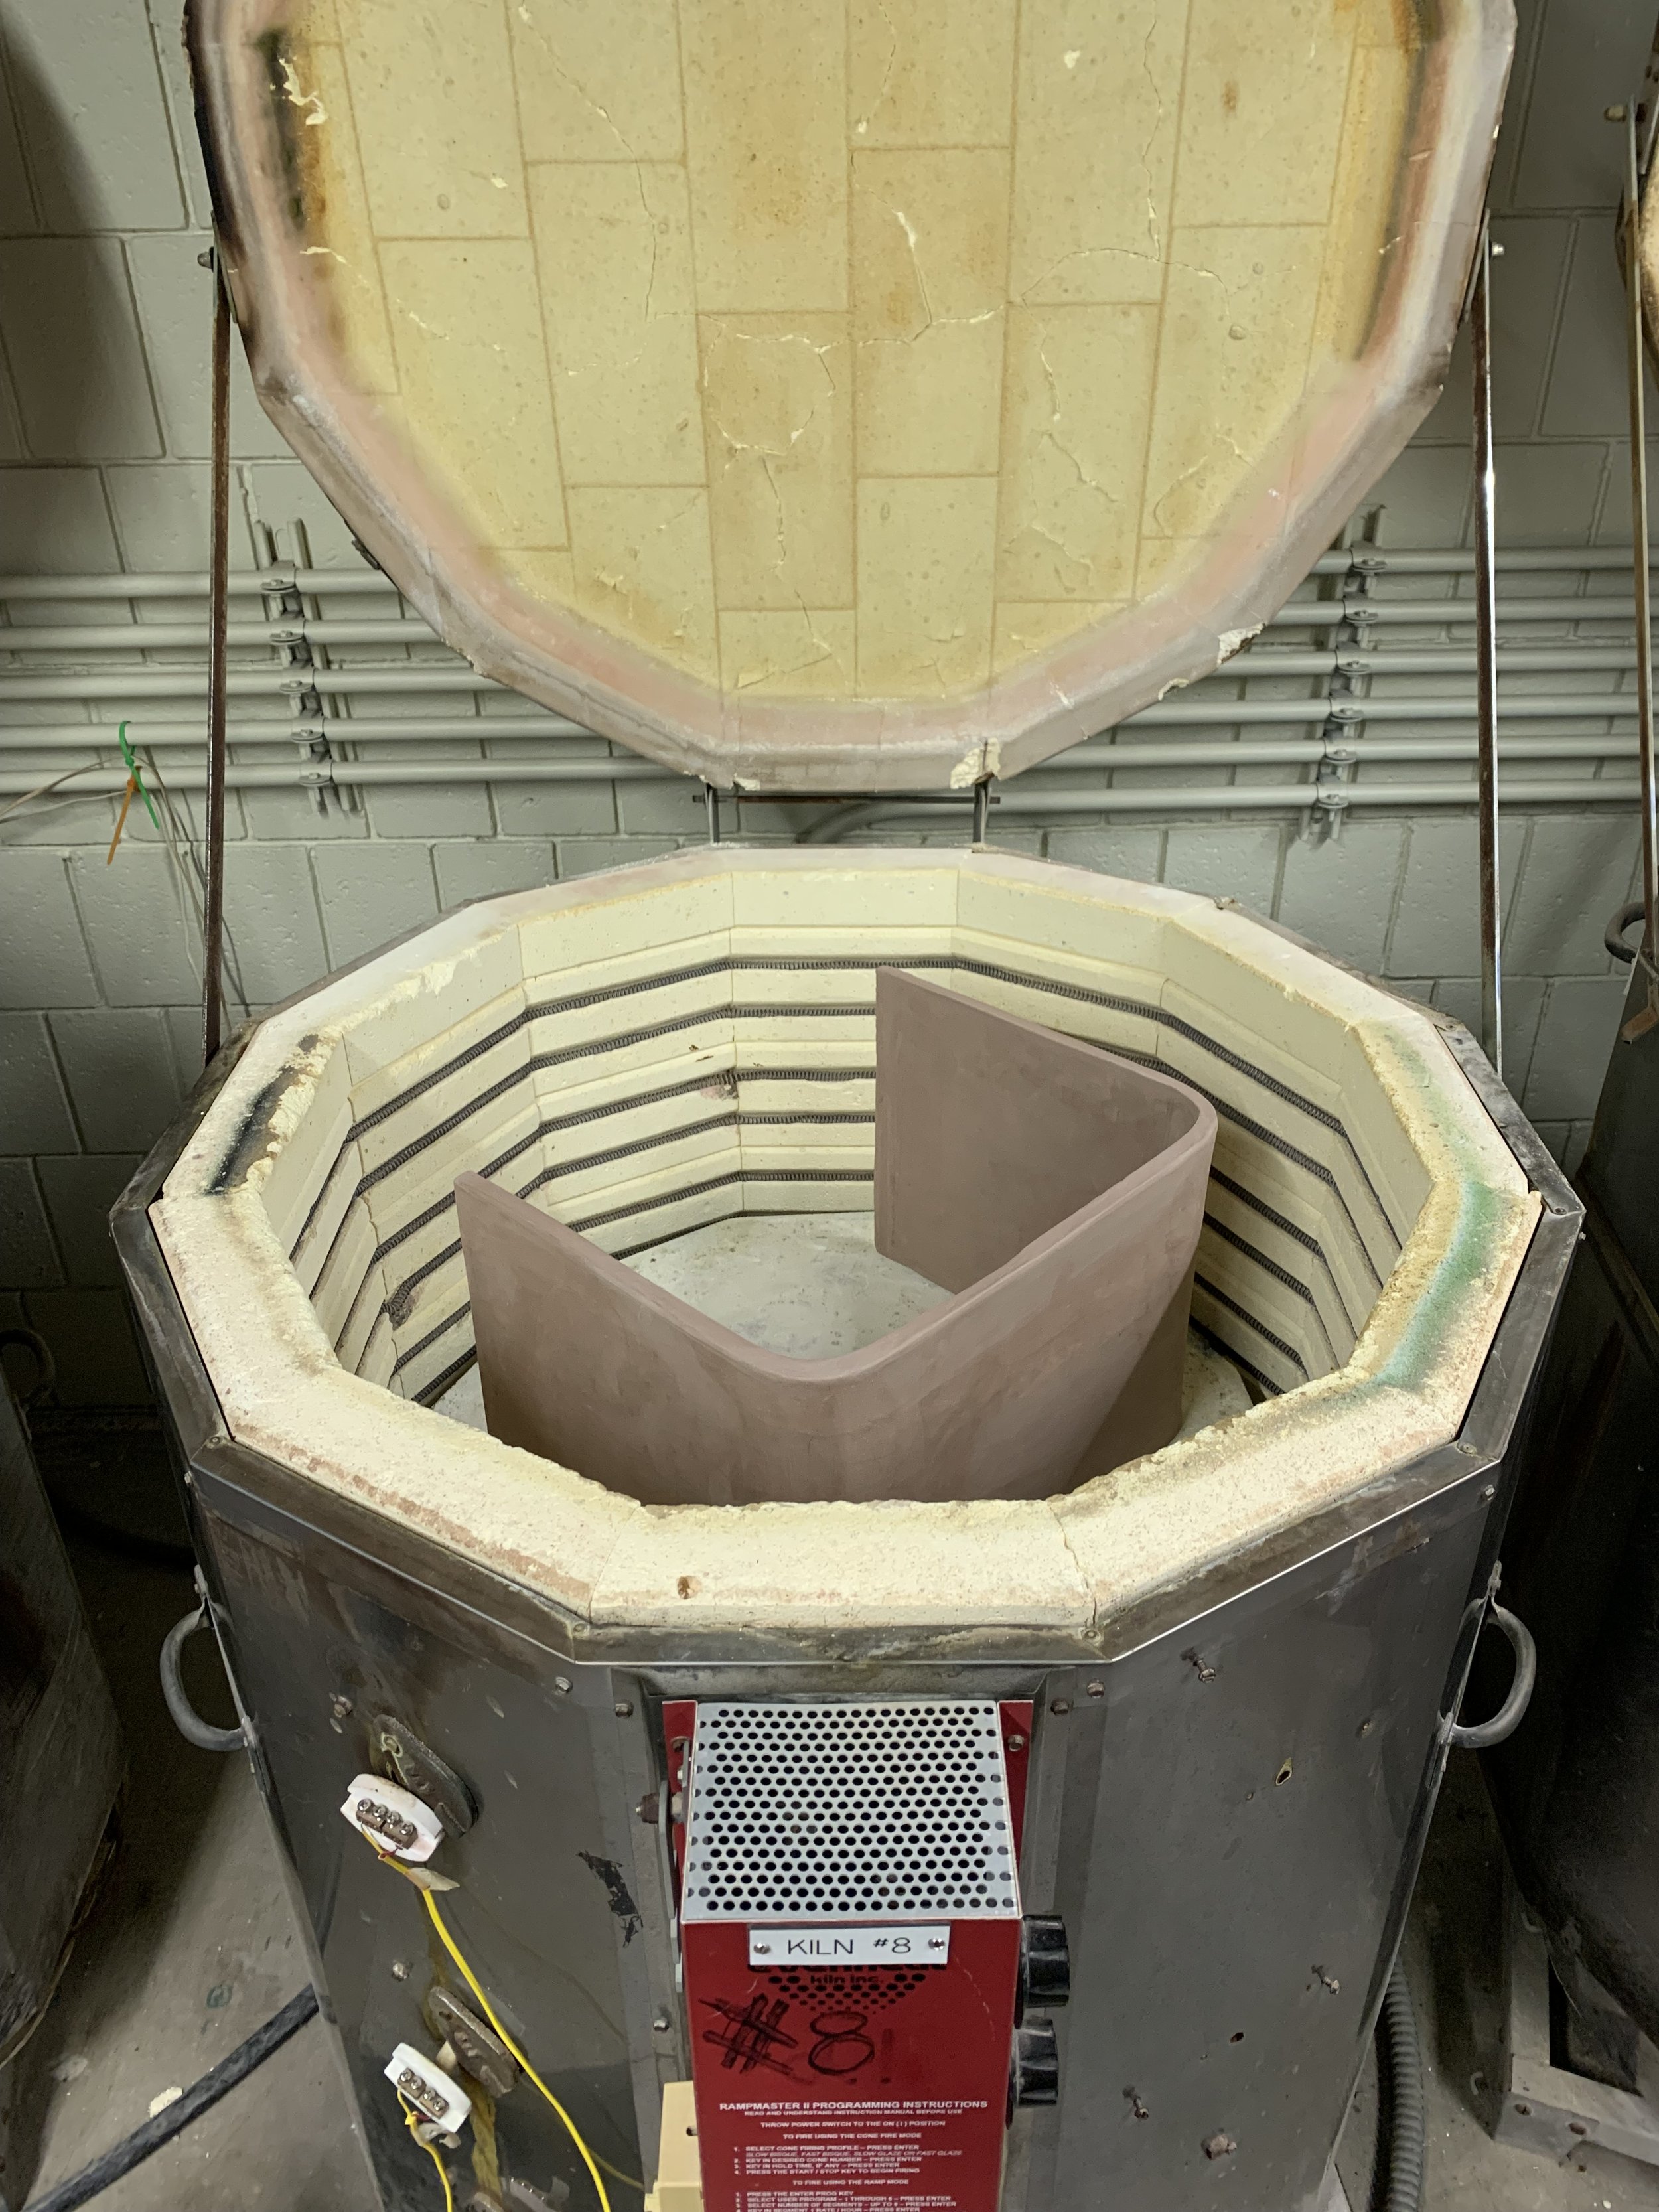
After letting everything dry for over 2 months, sadly the clay was still not dry enough when it was fired and everything exploded. The kiln technician was very happy to have a backpack vacuum to clean out the shards in the kilns. In the end, this was a group project because I received endless help from SO MANY other people in the studio! I enjoyed this project so much because of all the new friends I made and the new clay techniques I learned.
(This clay body turns this bright orange color after the bisque firing and turns a darker brown after the second firing.)

